Fresco of Entrapment – Variable Level Warder
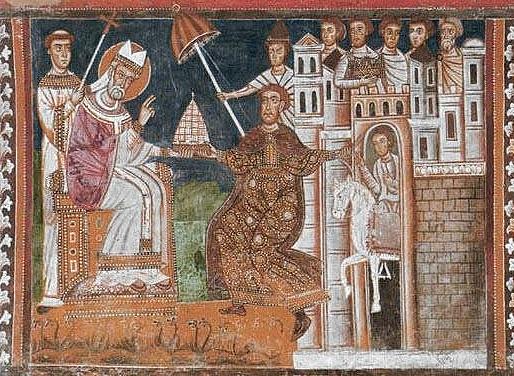
Powerful magic users will sometimes enchant their fortress’s walls with these Frescoes of Entrapment – brightly painted images of guardians with the power to absorb those who touch the walls.
This wall or door is painted with colorful, gilded images of guardians – each unique.
Perception (easy) – the images of warriors are very detailed, and there seems to be little in common among them.
Arcana (easy) – the observer realizes that this is an enchanted wall. (medium) – the observer understands the nature of the trap. (hard) the observer gains or can grant a +2 on thievery checks to disable the trap.
Thievery (medium) – the observer can tell that the painted wall stinks of magic and almost seems to pull at you, as though trying to draw you in. (hard) the observer disables a 5 foot section of the wall by scraping off or covering up the paintings. Failure on this check results in an attack by the wall.
History (easy) – the images do not seem to depict any historical event or personages that you know of.
Attack – Immediate Reaction, when a creature touches the wall – trap level +2 vs. Will
Hit: the target is stuck to the wall and immobilized (save ends). A Strength check (DC: hard) can free the target and end the effect. First failed save – the painted figure the target is touching begins to take on the appearance of the target. Second failed save – if still touching the wall, the target is absorbed into the painted figure which now looks exactly like a painting of the target. Once absorbed, a Break Enchantment or similar ritual is required to free the target.
Encounters – brutes who can push and controllers can up the ante of this warder by pushing characters against the wall where they become trapped. Artillery can be stationed on battlements atop the wall, melee fighters on the field in front of it.
Heroic
- Fresco of Entrapment (level 8 warder)
- Young Chimera (level 8 solo controller)
Paragon
- Fresco of Entrapment (level 13 warder)
- 1 balhannoth (level 13 elite lurker)
- 2 kuo-toa marauders (level 12 skirmisher)
- 2 kuo-toa harpooners (level 14 soldier)
Epic
- Fresco of Entrapment (level 24 warder)
- 2 bluespawn godslayers (level 22 elite brute)
- 1 storm giant (level 24 controller)
Posted in Uncategorized and tagged trap: warder by Adam A. Thompson with no comments yet.
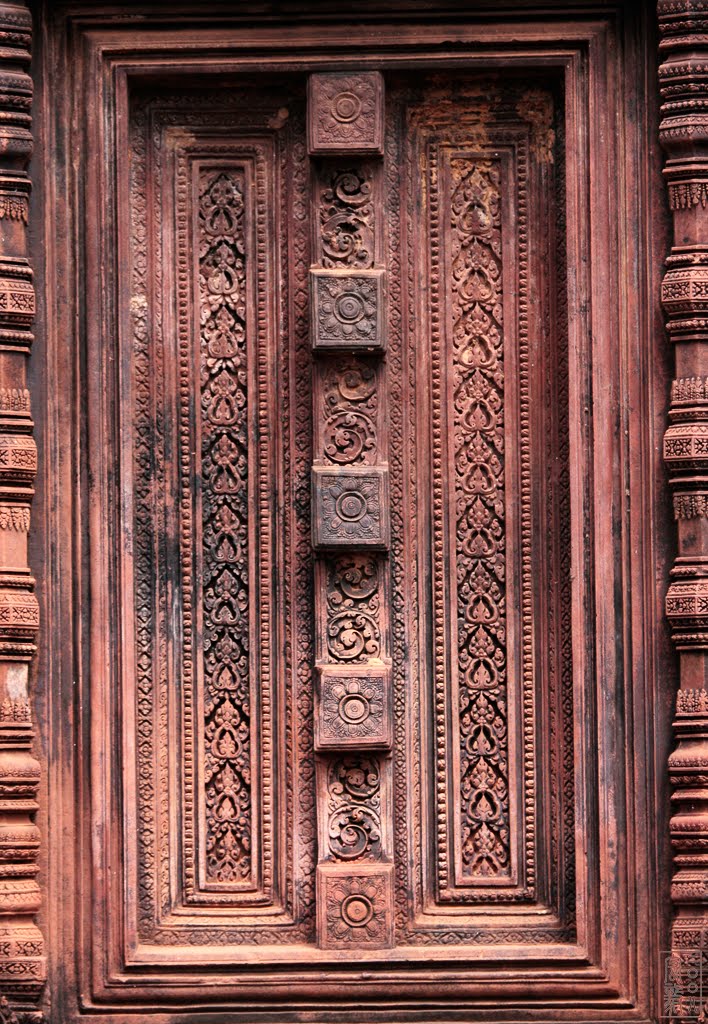
Dunheng Side Door
Invented by the dwarves of the Dunheng Kingdoms, these hidden and trapped doors are also used by the gnomes and ice kobolds in the northern reaches of the Stokaraz Mountains.
 Dunheng side doors are typically used as a secondary entrance to a dwarven complex, or as the main entrance to a secret area.
 For DCs and damage for this variable level trap, refer to the Difficulty Class and Damage by Level chart in the DMG.
Perception: DC (medium): Success – you notice the concealed door.
Looking over the stone cliff face, you notice that an oval, 5 foot high rock leaning against the cliff looks like it might be easy to move.
If the characters open the door, they see the following:
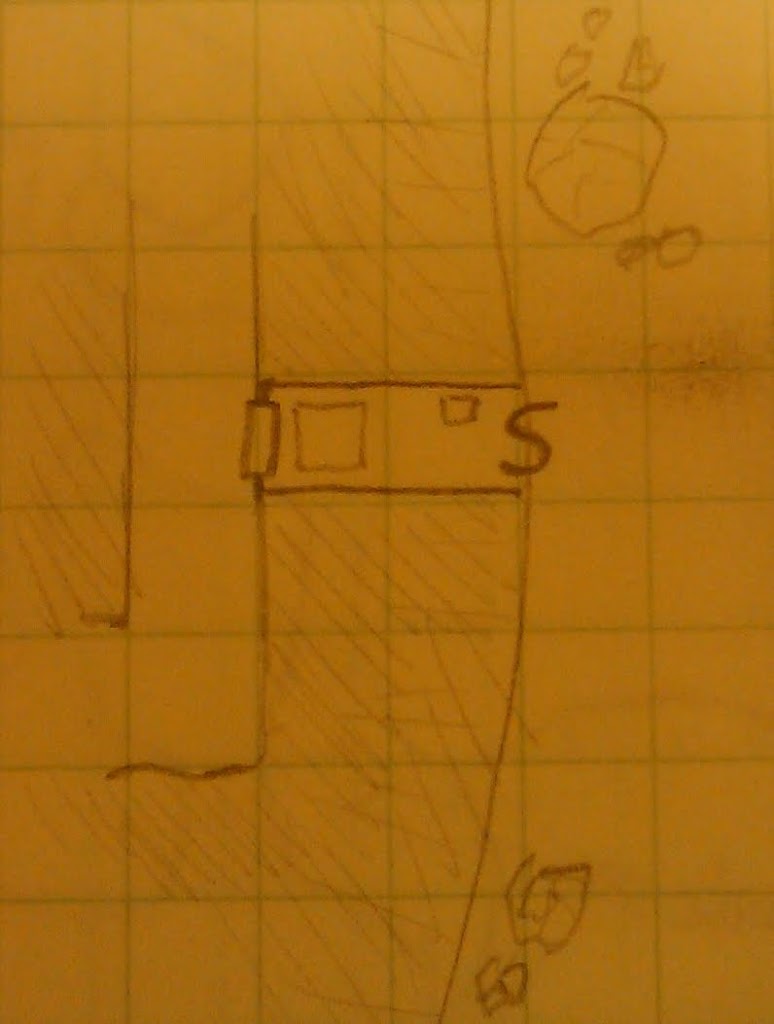
Opening the hidden door, you find that it swings out on hidden metal hinges to reveal a ten foot long, four foot wide passage of worked stone walls with a flagstone floor and a low ceiling. At the far end of the passage stands a stone door.
The door at the end of these hallways is generally locked.
Perception: DC (hard + 2): Success – you notice a small pressure plate under the flagstones.
As you are about to step into the passage you notice that a small flagstone to the side of the passage has no mortar around it. Touching it gingerly, you notice that it moves slightly.
Once a character enters the hallway, they may notice the following:
Perception: DC (hard + 2): Success – you notice the suspended stone block at the end of the passage.
Looking at the low ceiling, you notice that the last 5 feet of the ceiling in this hall has a seam running around it, delineating a 4 foot wide stone square. Closer examination reveals that the seam appears to run up into the ceiling some way.
Perception: DC (hard + 2): Success – you notice a second pressure plate under the flagstones at the end of the passage.
As you are about to proceed to the end of the passage you notice that a large flagstone in the middle of the passage has no mortar around it. Touching it gingerly, you notice that it moves slightly.
How it works – When a character enters the hallway they can disable the trap by standing on the pressure plate and closing the door behind them. If they do this, the second pressure plate does not drop the stone block.
When a character enters the second square of the hallway and steps on the pressure plate the stone block suspended above to drops on them, possibly trapping them beneath it and blocking the hallway.
Trap
Attack (Immediate Interrupt, when a character enters the square at the end of the hallway): Level +3 vs Reflex
Hit: Limited High Damage, and the target is pinned. While pinned, the target takes ongoing 5 damage per tier and is immobilized. A creature can free themselves or an adjacent pinned creature with a DC Hard Strength check as a Standard Action.
Miss: Half damage and the target is pushed 1 Square back into the hallway.
Effect: The weighty stone block that has fallen now completely blocks the hallway. As a Standard Action a character can make a DC Hard + 10 Strength check to lift up the block, and must make the same check every round they hold the block up, or else be subject to the attack again. The block has 80 HP.
Countermeasures
Acrobatics: if a character has noticed the second pressure plate at the end of the hallway, they can make a DC Medium Acrobatics check to balance on flagstones around the pressure plate as they unlock and open the door and pass through the trapped square. Failing this check sets off the trap.
Thievery: DC Hard thievery check to disable the second pressure plate. Failing this check by more than 5 results in the trap being set off, attacking the character making the thievery check and any assisting them.
Strength: DC Hard Strength check to brace or block the stone block – though holding the block up bodily require a new Strength check every round as above. Using pitons or another object to wedge the block gives a +2 on this check, though they will only hold the great block’s weight for 1d12 rounds after the trap is triggered.
XP: Award XP for bypassing this variable level trap according to the XP chart in the DMG.
Posted in Uncategorized and tagged secret door, trap: warder by Adam A. Thompson with no comments yet.